How to install VMware vSphere vCenter 6.5
This article will guide you step-by-step on how to deploy the VMware vSphere vCenter 6.5 appliance (VCSA) using the Windows GUI installer. The vCenter 6.5 installation is a bit different from previous versions where you would simply import an OVA file.
Prerequisites for installing vSphere vCenter 6.5
Appropriate hardware sizing and network infrastructure. Ensure that the FQDN name of the new vCenter is resolvable.
vCenter 6.5 Installation Procedure
After downloading the VCSA iso, if you are using Windows 8.x or Windows 10, you can simply right-click on the ISO image and mount it. Navigate to the \vcsa-ui-installer\win32 folder and execute installer.exe. This will guide us through the installation process.
Click on Install.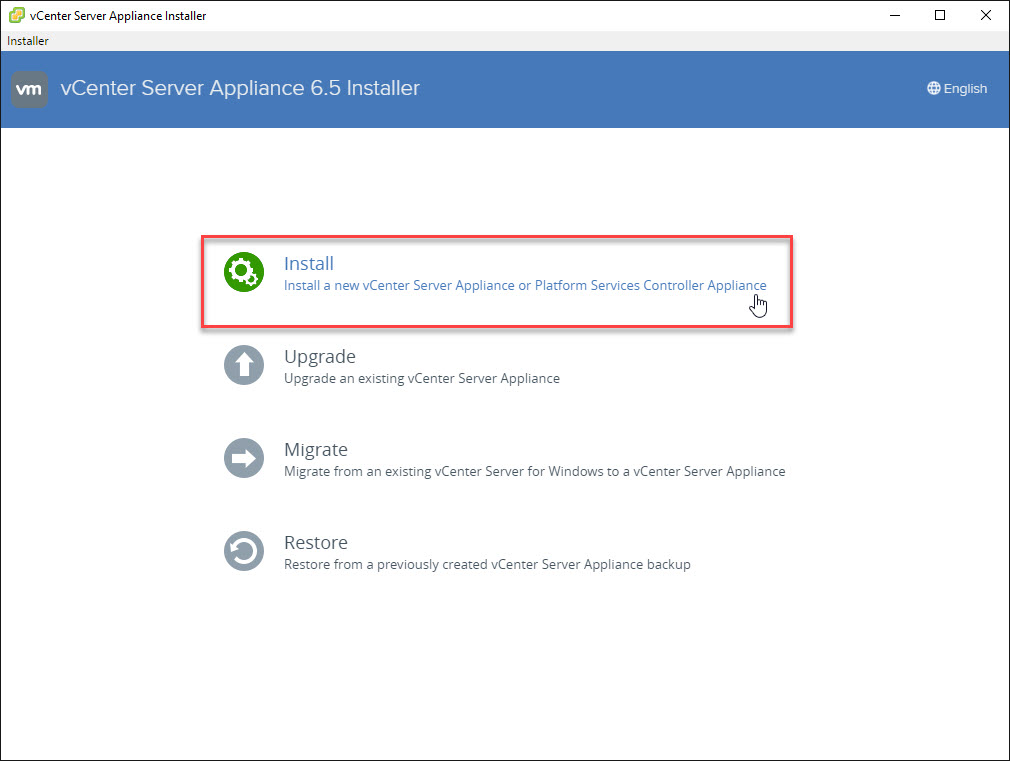
This is a basic introduction page, simply click Next.
Check “I accept the terms of the license agreement.” and click Next.

Since this is a basic installation, like a “One Size Fits All”, we will stay with the default option of “Embedded Platform Services Controller” and click Next.
Enter the name of your current vCenter or an ESXi host if your starting from scratch. Enter the appropriate admin username and password. Click Next.
Note: If you are using a FREE version of ESXi, the installation may stall at 80% and you will most likely need a licensed copy of ESXi or at least a trial.

Click Yes on the Certificate Warning. You should always confirm that this confirms with your security standards.
Select the appropriate datacenter and click Next.
Select an ESXi host and click Next.
Enter the name of the appliance to be created and root password. Click Next.
Select the appropriate size for the appliance. Since this will be for demonstration purposes, we select Tiny. Click Next.
Select the appropriate datastore and click Next. 
Enter the appropriate information, like Network, System Name, IP addresses and click Next.
Click Finish on the Summary.
Depending on the physical/networking specs, this may consume a bit of time. Click Continue when it completes.
Click Next to complete the post-deployment configuration.
Enter an appropriate NTP server configuration and click Next. “pool.ntp.org” is a publicly available NTP server but this may not be appropriate for your organization.
Create an SSO domain and Site. “vsphere.local” has been used as it is a remnant of the past, but you can opt for additional naming conventions. Click Next.
You may opt to Join CEIP. Click Next.
Click Finish on the summary page.
Click OK to proceed.
This again will consume some time. Once complete, click Close.