Step-by-Step Guide to Deploying vRealize Operations Manager Nodes
This is a step-by-step guide on how to deploy the VMware vRealize Operations Manager virtual appliance and configuring them as the Master and Replica. The same process can be used for a Data node.
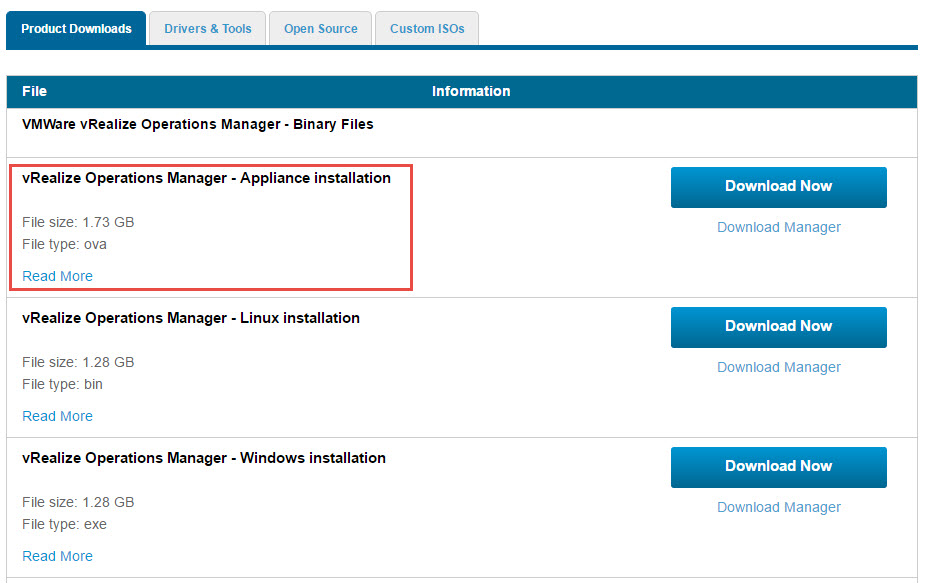
Firstly, create a VMware account if you do not have one and download the appliance which is in OVA format.
VMware offers installation options for Windows and Linux but we will stick with the VMware appliance option.
Master Node
1. Download the vRealize Operations Manager - Appliance installation.
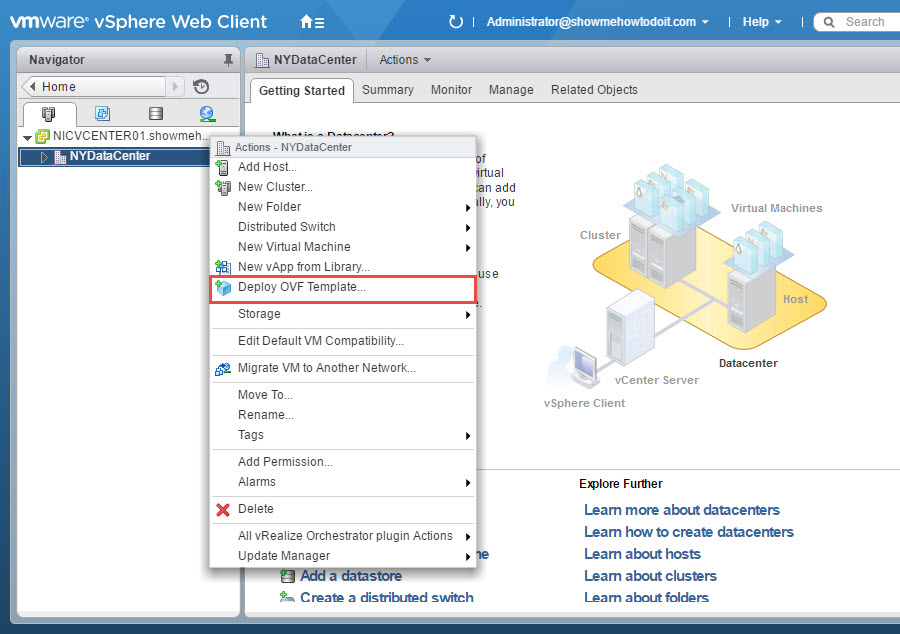
2. From with the VMware vSphere Web Client, select the option to “Deploy OVF Template” option.
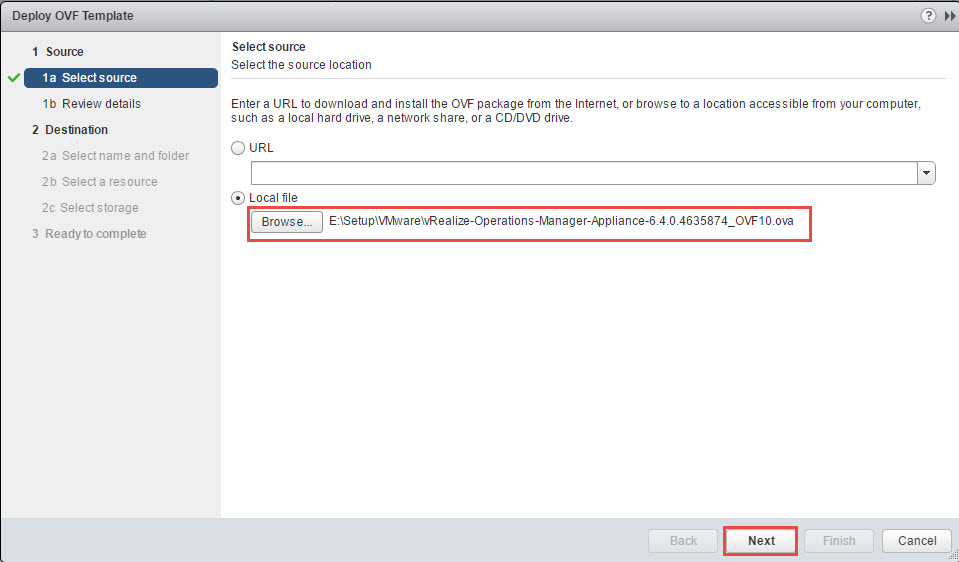
3. Browse to the location that you have saved the OVA file and select it. Click Next.
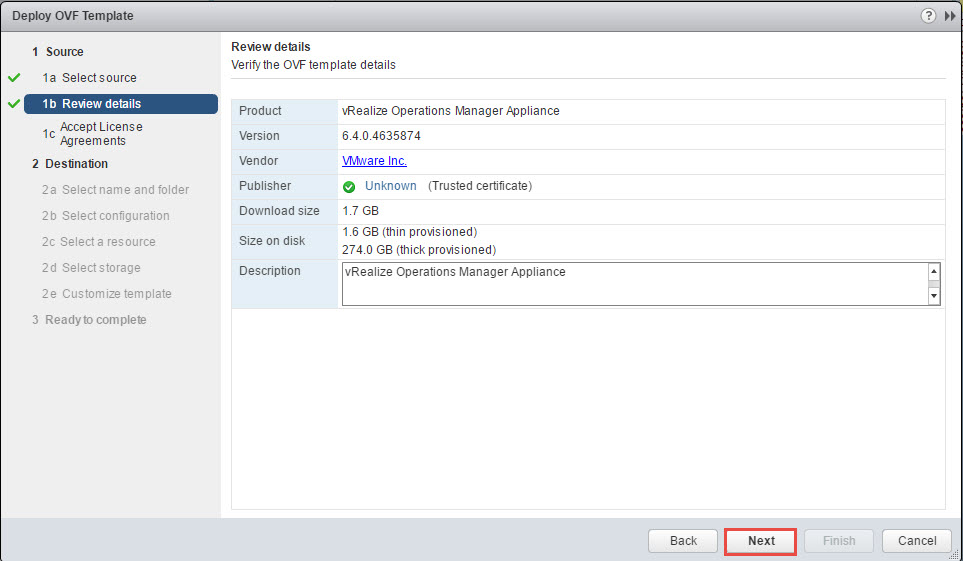
4. Click Next on the Review details.
5. Read the license agreement, click on “Accept” and “Next”.
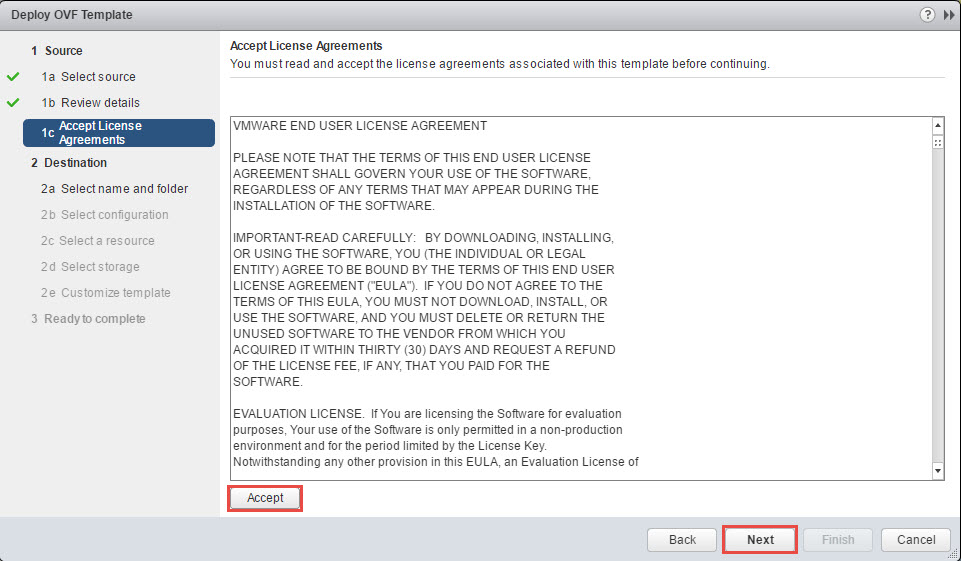
6. Enter the appropriate name for the appliance and select the appropriate location. Click Next.

7. Select a host and click Next.

8. Select the appropriate datastore and disk format. Click Next.

9. Select the appropriate virtual network and click Next.

10. In the customize template, select the appropriate Timezone for your environment and enter the appropriate Networking Properties. You can also leave the Networking Properties blank if you utilize DHCP (most likely used with MAC reservation).

Click Finish to complete the deployment of the OVA. (If you click Next, you will have the option to review settings and also the option to power-on the appliance once it is deployed.)
Replica Node
To create the Replica Node, repeat steps 2 to 9 with the following modifications:
- Step 6: Change the name of the appliance.
- Step 10: Enter the appropriate IP for the Replica node.